

A few years ago I posted a couple of YouTube videos of my new Erlbacher circular sock machine (CSM). I just got it and I was sooo excited. I posted the videos both in English and Spanish. However, I started getting a lot of comments from Latin American viewers asking me where they could buy a CSM. Some of them even asked me for an estimate and my details to send me payments.
I was taken aback! I live in the U.S. and didn’t realize that these machines were never marketed in Latin America. I didn’t know what to answer. I contacted a few companies that still sell CSMs. I asked them if I could mention their companies in my YouTube videos. Most of them didn’t answer. I guess it is hard to ship to this part of the world.
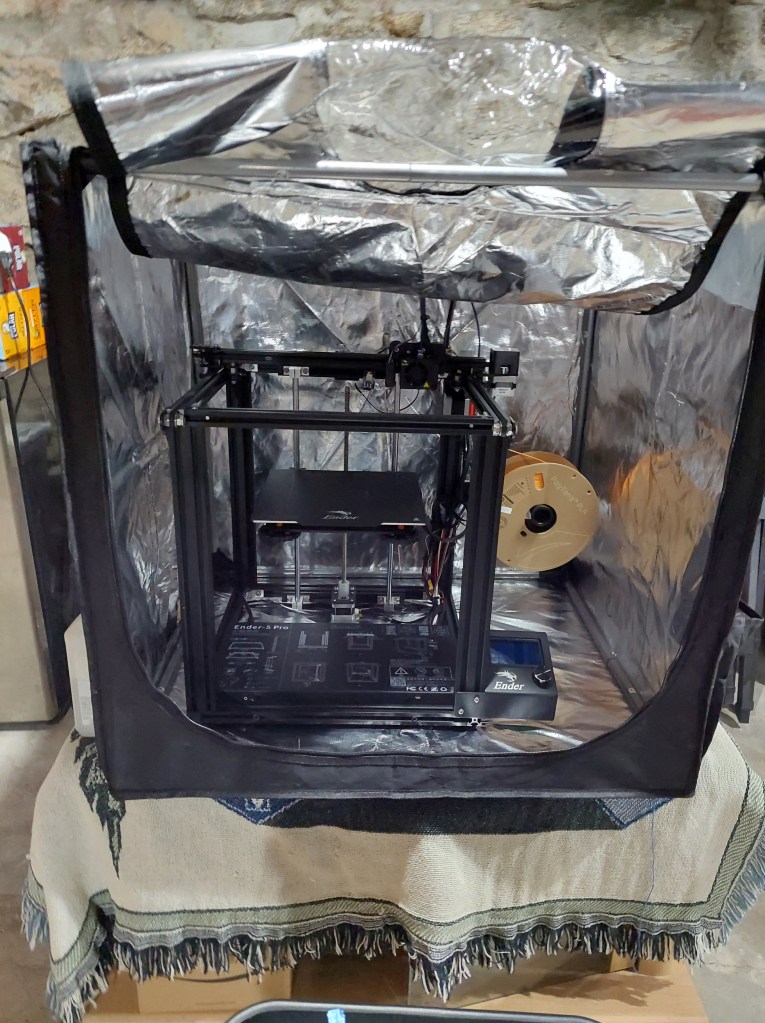
Six months ago I read an article about 3D printers. I wondered if it was possible to 3D print a CSM. And me being me, decided to jump in head first and ordered a 3D printer. Needles to say it wasn’t nearly as easy as I thought.
First, I had to assemble the darn thing. I watch several YouTube videos in order to accomplish this. Second I had to make it work! I learned the hard way that 3D printers don’t work at all like regular paper printers, my bad. And third, I had to learn how to use the software.
I won’t go into detail of the ordeal I went through to get the three aforementioned steps done. Suffice it to say that, somehow—I still don’t know how—I made it work. After that, I had to figure out how to make sure the objects printed the correct way.
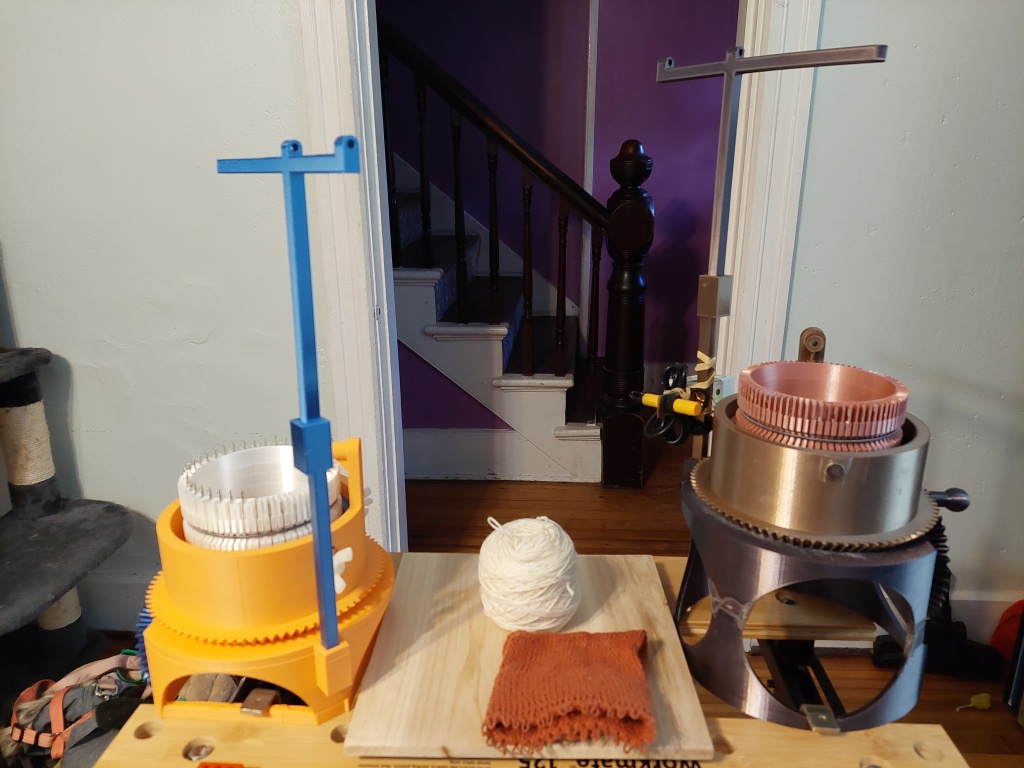
Three months later, I was able to assemble my first 3D printed CSM. I found the model in Thingiverse, a website were people post free 3D model for not commercial use. This particular machine was designed by a German person. I copied the description into Google Translate. Finally, I understood what it said. I was elated; I thought it was the most incredible thing I’ve ever done in my life! Yet, it looked pretty, but I couldn’t knit a sock to save my life.
This model uses standard 4 mm flat bed knitting needles. I used Knitmaster, Singer or Studio knitting machine needles, which are a little bit shorter than Brother’s. I tried using Brother needles but they didn’t work. This is an 80 needle cylinder. The extra tail of the needles must be cut off to make them fit.
I kept trying and testing, I was adamant to make it work. I spent a lot of money in hardware and all kinds of needles. Finally I knitted a tube; it wasn’t pretty, but it knitted. I am lucky enough to own two metal CSMs. They are a pleasure to work with. My little PLA CSM was more a torture than a pleasure.
Some of the problems I encountered when printing and assembling this model were: The base is flimsy. The brown one broke in half (I gorilla taped it). It isn’t easy to affix the machine to a table and often comes off, which can cause injuries. The crank wheel and handle are too small. You must crank the wheel about two times to get one revolution. There is no place to install a row counter.
That being said, I think it is fantastic considering the designer isn’t a knitter and didn’t have an example. It looks like he came up with the idea on his own. Unfortunately after three or four knitted tubes, the partitions between the needles started to break and cause the needles to jam.
Nevertheless, I had to keep trying since the vintage beautiful metal machines are not accessible to Spanish speaking countries. I wanted to give my viewers a choice. I kept researching Thingiverse and I found the files to print a CSM inspired on the vintage Legare CSM. The designer is MrRoboto19, his name is Steve Turner. He blew my mind away. The model resembled not only the Legare CSM, but also the Auto Knitter—I own one, probably circa 1940s. It took me three weeks to print all the parts, and another two to assemble the machine. The design was extremely well made.
I am a crafter, but I don’t know anything about hardware, screws, springs and so on. The machine assembly called for many of these things and it was a literal nightmare. Granted, MrRoboto19 wrote a warning about this saying that, if you were not good with hardware, this project wasn’t for you. Of course, I paid no head to his warnings. I ended up with two medium boxes of screws, washers, tools and various hardware that I don’t know what to do with.
I finally managed to assemble the CSM and, IT DIDN’T WORK! I couldn’t believe it, after all that work. Two things happened: There are two fin like pieces that go inside the cam shell (picture below), which allow the needles to go up an down and create the heel and toes of the sock. In order for the fins to work a torsion spring must be placed on each of them so they lift and go back to their original position after the needle buts have passed underneath.

The needles were also a problem. I used my Erlbacher’s needles. These needles are specifically for CSMs and don’t work on flat bed knitting machines. They didn’t go far down enough to create the stitches. The stitches came out too tight. The stitches crawled up to the top of the needles and dropped. I discovered that the Erlbacher’s needles (inspired on the vintage Gearhart CSM) were slightly taller than the Auto Knitter’s. So, I swapped the needles, and they worked. I could knit a tube.
I also ordered metal fins from Erlbacher (great customer service), and after several tries, they worked great. MrRoboto19 specifies the type of needles that should be used with this model, other needles won’t work.
In conclusion, if you have no access to any of the CSMs available in the market, you have an option. You can 3D print your own. It will work, but never at the level of the metal ones. Nonetheless, this one worked pretty well.
Below are three videos I posted in my YouTube channel. On these videos I describe the process to create socks in a MrRoboto CSM.
I am learning how to use Fusion 360 which is a more advanced software than programs like Tinkercad and 3D Builder. I usually model the object, then, I slice it in Ultimaker Cura. Finally, I print it with my Ender5 Pro. I can’t model complex objects yet. However, I am getting better. After I master this skill, I hope to be able to design my own knitting machine or loom. But it won’t happen any time soon, I still have a lot to learn.
Disclaimer: I do not endorse any of the websites or products mentioned in this article or elsewhere on this blog. They are referenced solely as tools I personally use in my craft work. Any decision to purchase or use these products is made at your own risk.

Helen!! This is amazing!!! I would *never* have had the courage to even think of undertaking something this crazy-complex. I’m in awe!! Congratulations!
LikeLike
Hi Rose, Thanks, you are too kind! 😄
LikeLike
Hola, estoy tan emocionada!!!! acabo de imprimir casi todas las piezas 😁, las indicaciones aunque estan en inglés se pueden seguir en español, te agradecería enormemente si pudieras decirme dónde comprar las agujas y el muelle que las sujeta, también tengo que mirar cuantos tornillos y arendelas y tuercas lleva🙈🙈, si pudiese hacerme el favor, la verdad que hay muy pocas explicaciones en español y me pierdo un poco….
Un saludo Natali
LikeLike
Hola Natalia, qué pena, no te contesté verdad. He abandonado un poco mi blog y mi canal de YouTube. Aquí te va mi dirección de correo. Si todavía tienes problemas, escríbeme y trataré de ayudar. helensiers@knittingfingers.com.
LikeLike