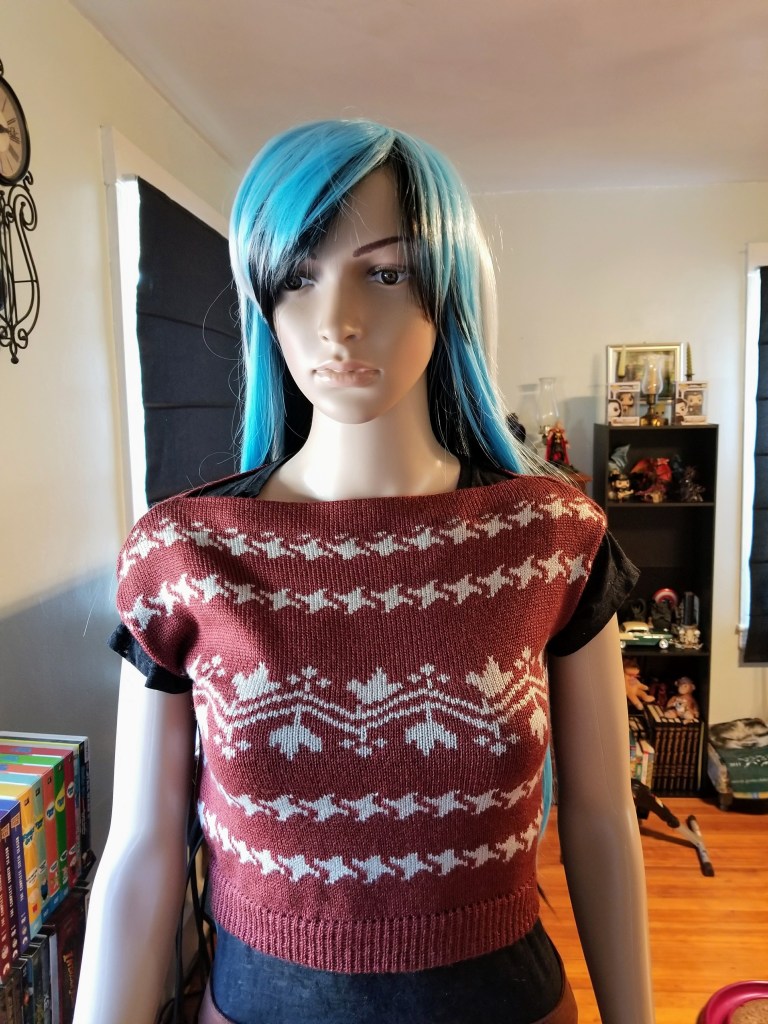
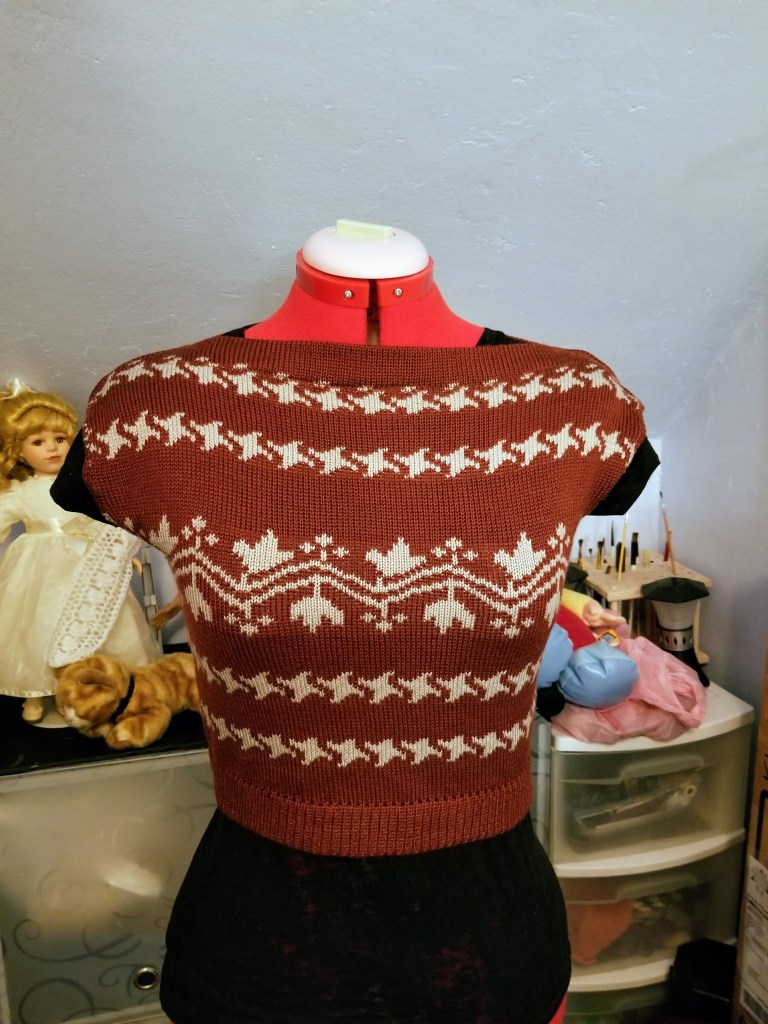
Machine Knitted Veronika Top
I finally could figure out how to use my electronic Brother knitting machine. Since I forget everything and I don’t feel like reading the manual every time I use this machine, I recorded a video of how to use the pattern feature and posted it on YouTube. Then, I had to figure out what to do with that knowledge.
So I decided to design a top. The top is sleeveless which means it can be used over a long sleeve shirt in winter and over a short sleeve t-shirt in spring and fall.
I used leftover yarn from my yarn stash. The yarn was thin, I think it was lace yarn. I knitted a swatch calculated the inches and rows per 4″/10cm and drew a schematic. I made it really simple, no shaping.
My machine is a standard gauge which means that the distance between each needle is 4.5mm. This is a very small gauge, so it is difficult to assemble the finished product. That being said, typical me always avoiding the extra work, I decided to finish with a boat neck, but I didn’t shape it at the shoulders. Instead, I knitted evenly to the end (no decreases). I knitted extra rows in order to fold the extra fabric to create the neckband.
After blocking the pieces, I folded the neckband and pinned all the pieces together making sure I pinned the shape of the shoulders. This left me with extra fabric at each shoulder. I sew the pieces on my vintage singer sewing machine (circa 1960s, a real workhorse).
After I finished sewing the top, I cut the excess of fabric at the shoulders and neck with a pair of sharp scissors. That is probably one of the scariest things I have ever done! I think next time, I will invest time in shaping the neck.